
So here I will explain how to replace a model in the game. Which is the basic side of importing models and we will go over some important things you must know. While I import and replace a model in the game.
All guides are written with the assumption you already read through or understand all “Basic Modding “
Getting Started
1.) Go inside your game.kpf
2.) Go inside the models folder
3.) Select the model you want to replace so we know what to name our model for replacing. ( I will use the knife here dyn_knife.bin for the example )
Some important things to know before we continue the guide.
- When we export Turok’s models from the game they are either upside down, turned, or not in view of the player so you need to locate the position. Otherwise you won’t see your model when you import it.
- I think the animations are partly responsible for this. I noticed that some of the animations flip the models upright into the correct position itself. But animations are a hole different subject that we can’t go over just yet.
- Animations can’t be edited yet without an editors tool so models you put into the game will lose the animations for the nodes unfortunately. Here is an example of what happens when we cant edit the anims for the nodes on our models.
Notice how his hand and the pump on the shotgun no longer move when reloading since I replaced the shotgun quickly. Missing anims on the nodes or I should say we can’t link them together just yet. The knife however only has one node anyway.
- Locating the models positions can be tedious but there are tricks to shorten the process. But again this is a hole different subject that I don’t want to go over in this guide. I will save that for another.
Here is an example of what happens when you don’t have the model in the correct position.
Back to the guide
4.) Put the obj model file into your gameroot/directory in the same folder as sobek.exe. This will help the mtl file write itself with the correct directories. (Don’t worry you will understand more about the directories a few steps ahead and even for other guides also)
5.) Now open that model file with your choice of model program.
6.) Locate and place the models in an on-screen position using your choice of model program. remember you might need to move/rotate the model and test positioning to get it right. (But first you would have to know how to get your model in the game to test the position.)

7.) Export the model as obj. Now wherever you exported it to, you will see it also saves an mtl file. That is the material file for it.
8.) Edit the .mtl file. Right click it and choose to open it with your choice of notepad/text editor.
Back to the directories I spoke of earlier
9.) Once you open the .mtl file if you look closely you will realize that some of the slashes (/) are backwards in the “map_Kd” which defines the textures directory for each piece of the model. You need to replace all the backward slashes seen like this \ back into the correct way like this /.
- And be sure the map_Kd leads to your texture directory which could be where ever you have your texture for your model at. ( To keep it clean put it in your textures folder )
Wrong mtl file

Correct mtl file

Don’t let me lose you yet its not that much i’m just explaining it extensively. This is where we should be. We should have an obj file and a correctly edited mtl file now. Like this
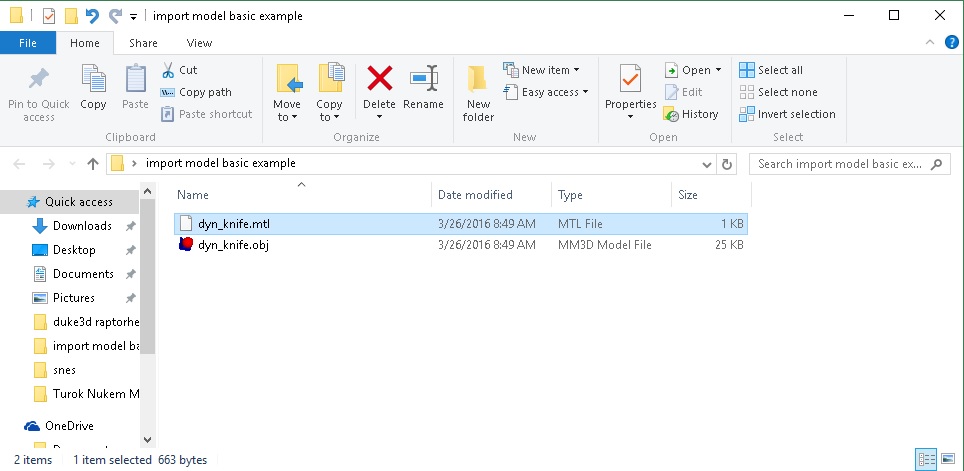
Almost there
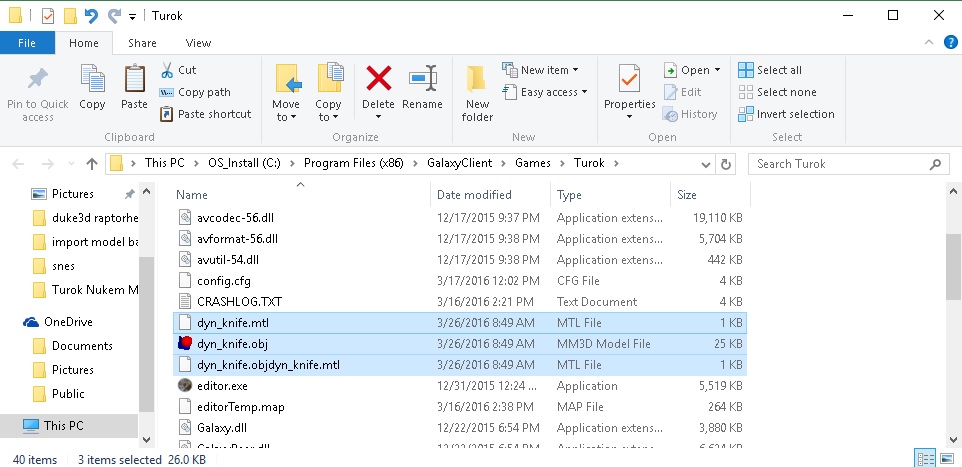
10.) Now copy and paste the correctly edited mtl file in the same place, so you should have two mtl files now and one is a copy of the other. You must rename the copied one and give it an obj identity that the engine will recognize. To do this you must do (yourmodel).obj(yourmodel).mtl
- Example1 if it were the knife. it would read dyn_knife.objdyn_knife.mtl (no spaces)
- Example 2 If it were the shotgun it would read dyn_shotgun.objdyn_shotgun.mtl
Just like this below

If you correctly edited the mtl file before copying pasting the renamed copy then both should be correct and we can move on.
Packaging models into game ready bin files
11.) Drag these 3 files into your Turok gameroot/directory
Just like this, I am in my GOG directory of course it works for Steam also either way.
12.) Launch sobek.exe get to the main menu of the game and open the console by pressing ~
13.) Type convertobj (your model).obj and hit enter
Since I am using the knife for this I will type:
convertobj dyn_knife.obj and hit enter
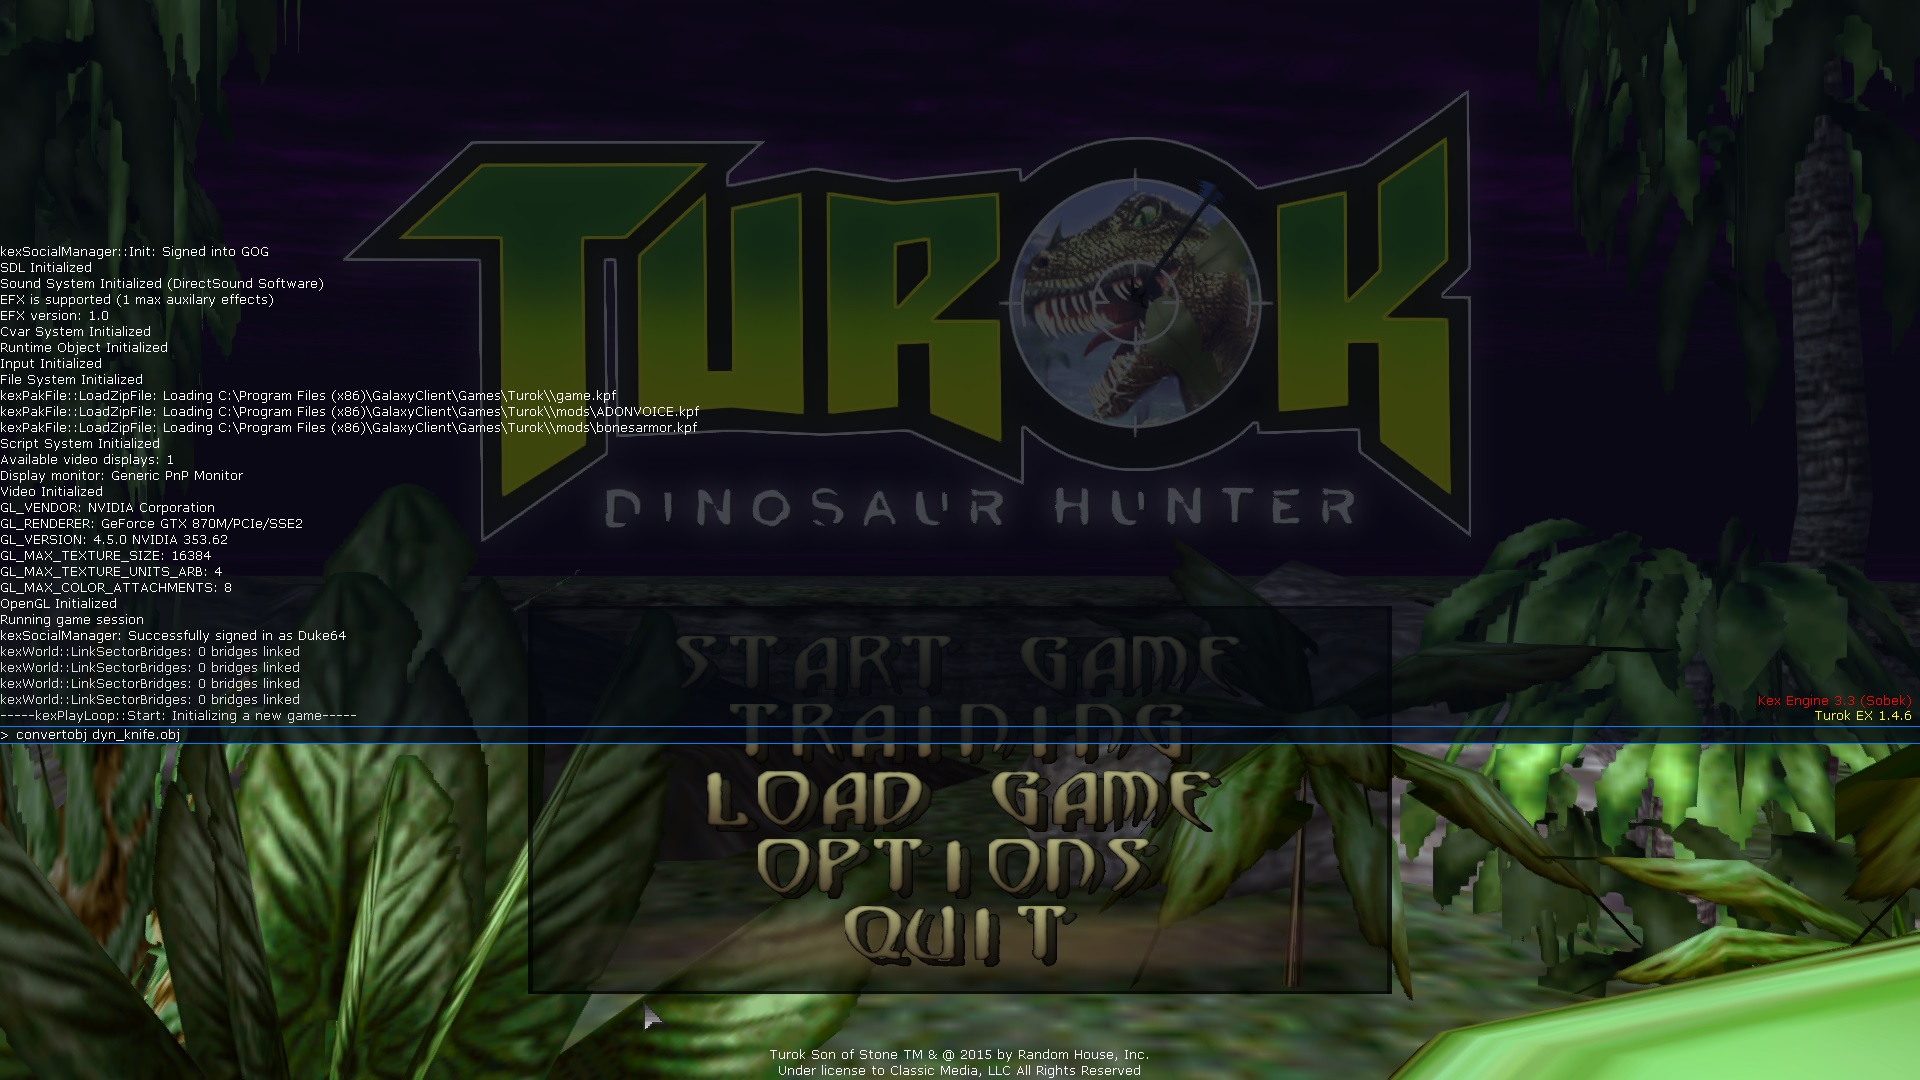
Here is what it looks like if you correctly packaged your model into a bin file. The action takes place in the top left corner of the video. The game will be parsing the obj lines and checking the faces of the model.
14.) Exit the game and now in your Turok folder you should have a .bin file format of your model which should be game ready if you did all steps above correctly.

15.) Place your models bin file into you mods folder or however you run your mods.
Turok 08 knife style done in minutes 🙂 I think it needs some fine tuning on the placement and rotation of it, but here it is just for an example. I hope this helps anyone

Categories: Turok, Turok Dinosaur Hunter Guides

Leave a comment