How to make a correct switch in Doom Builder 64 for Doom 64 Ex
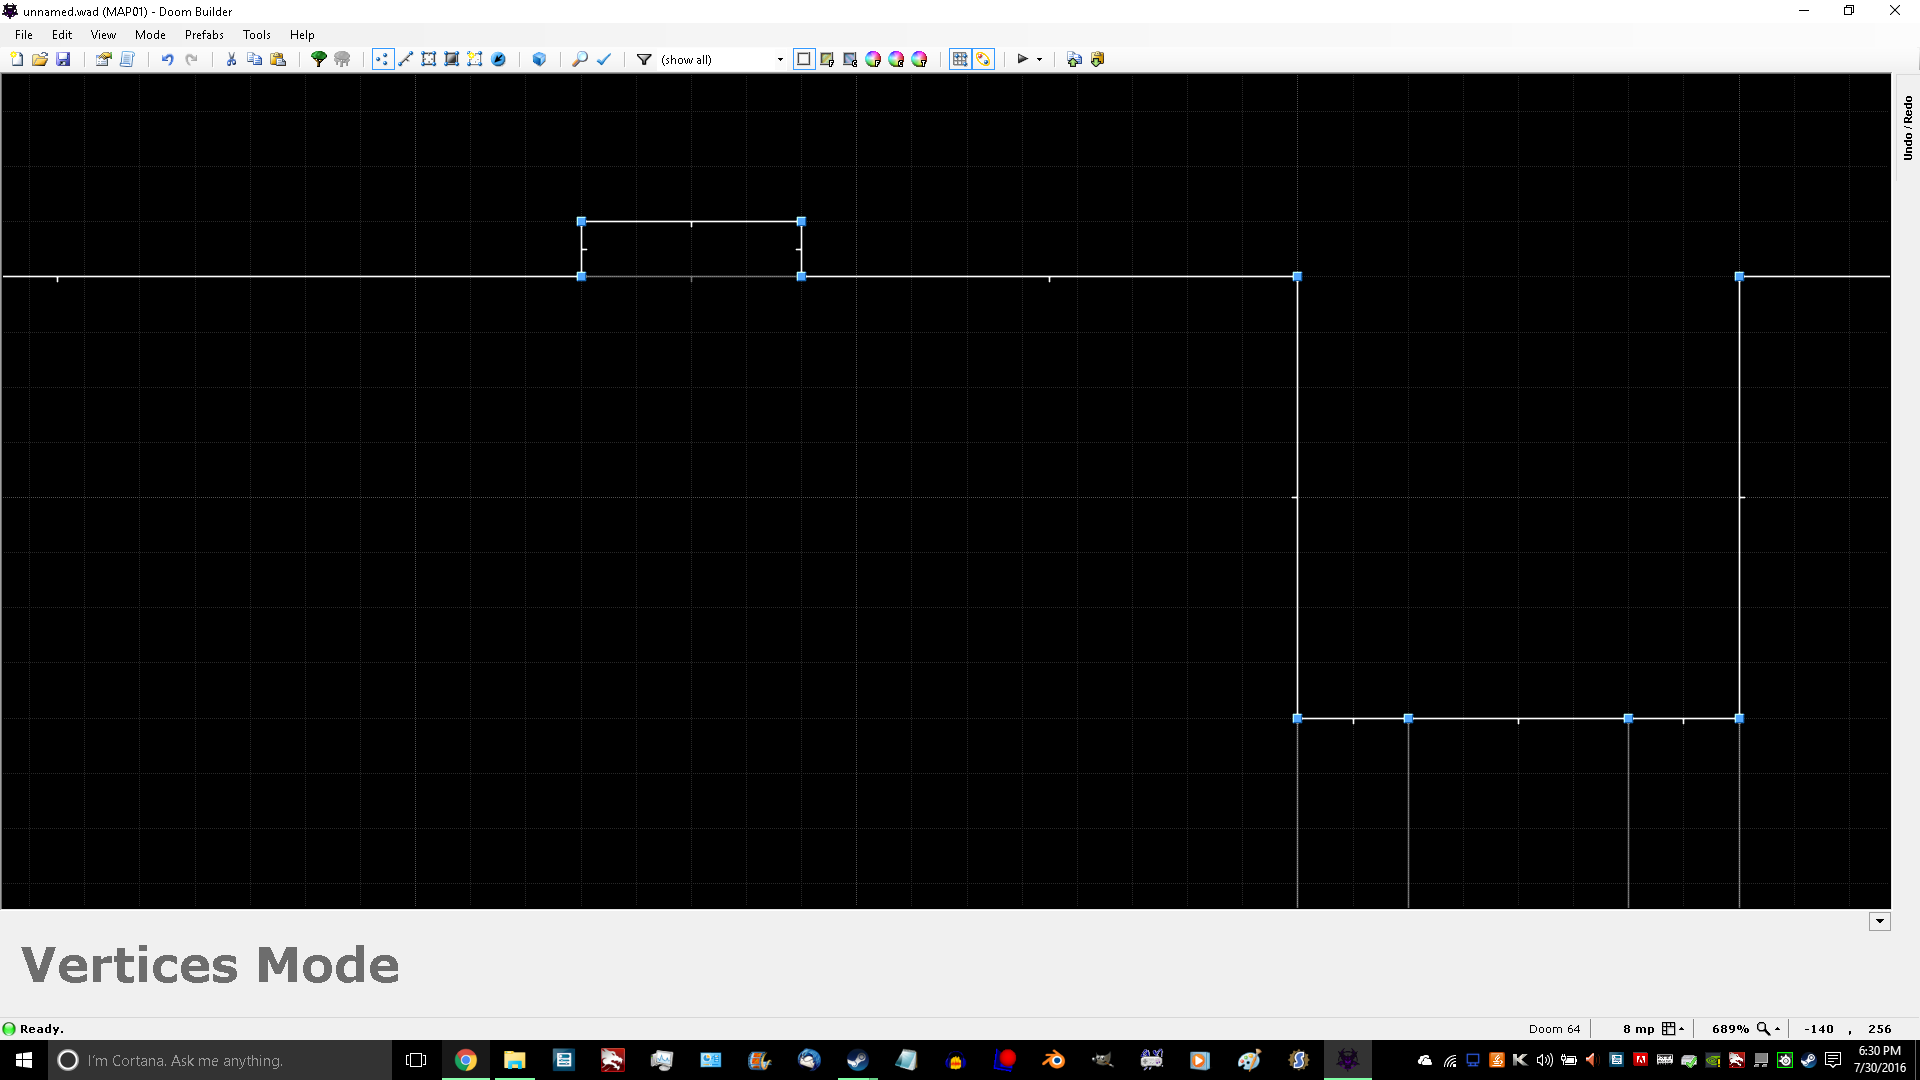
1.) First create the sector where the switch will be. It should be 32 units wide 😉
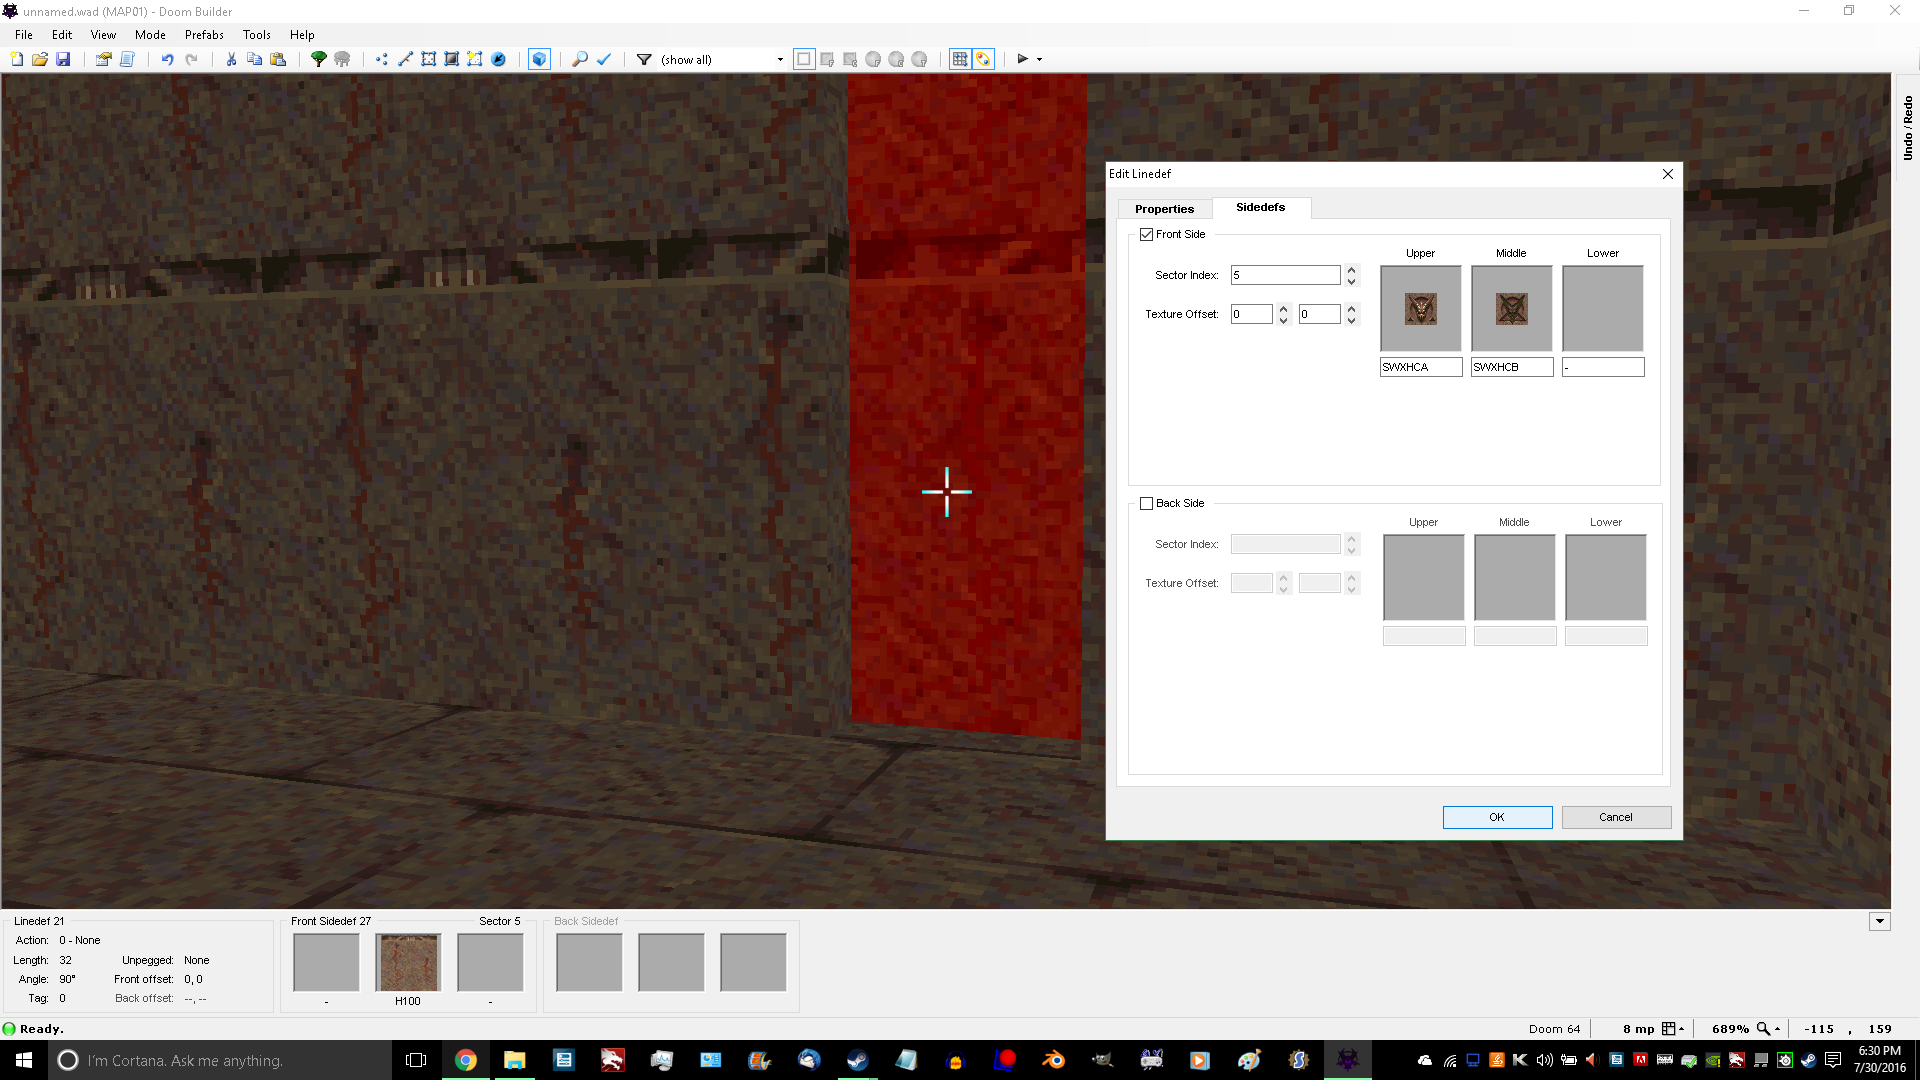
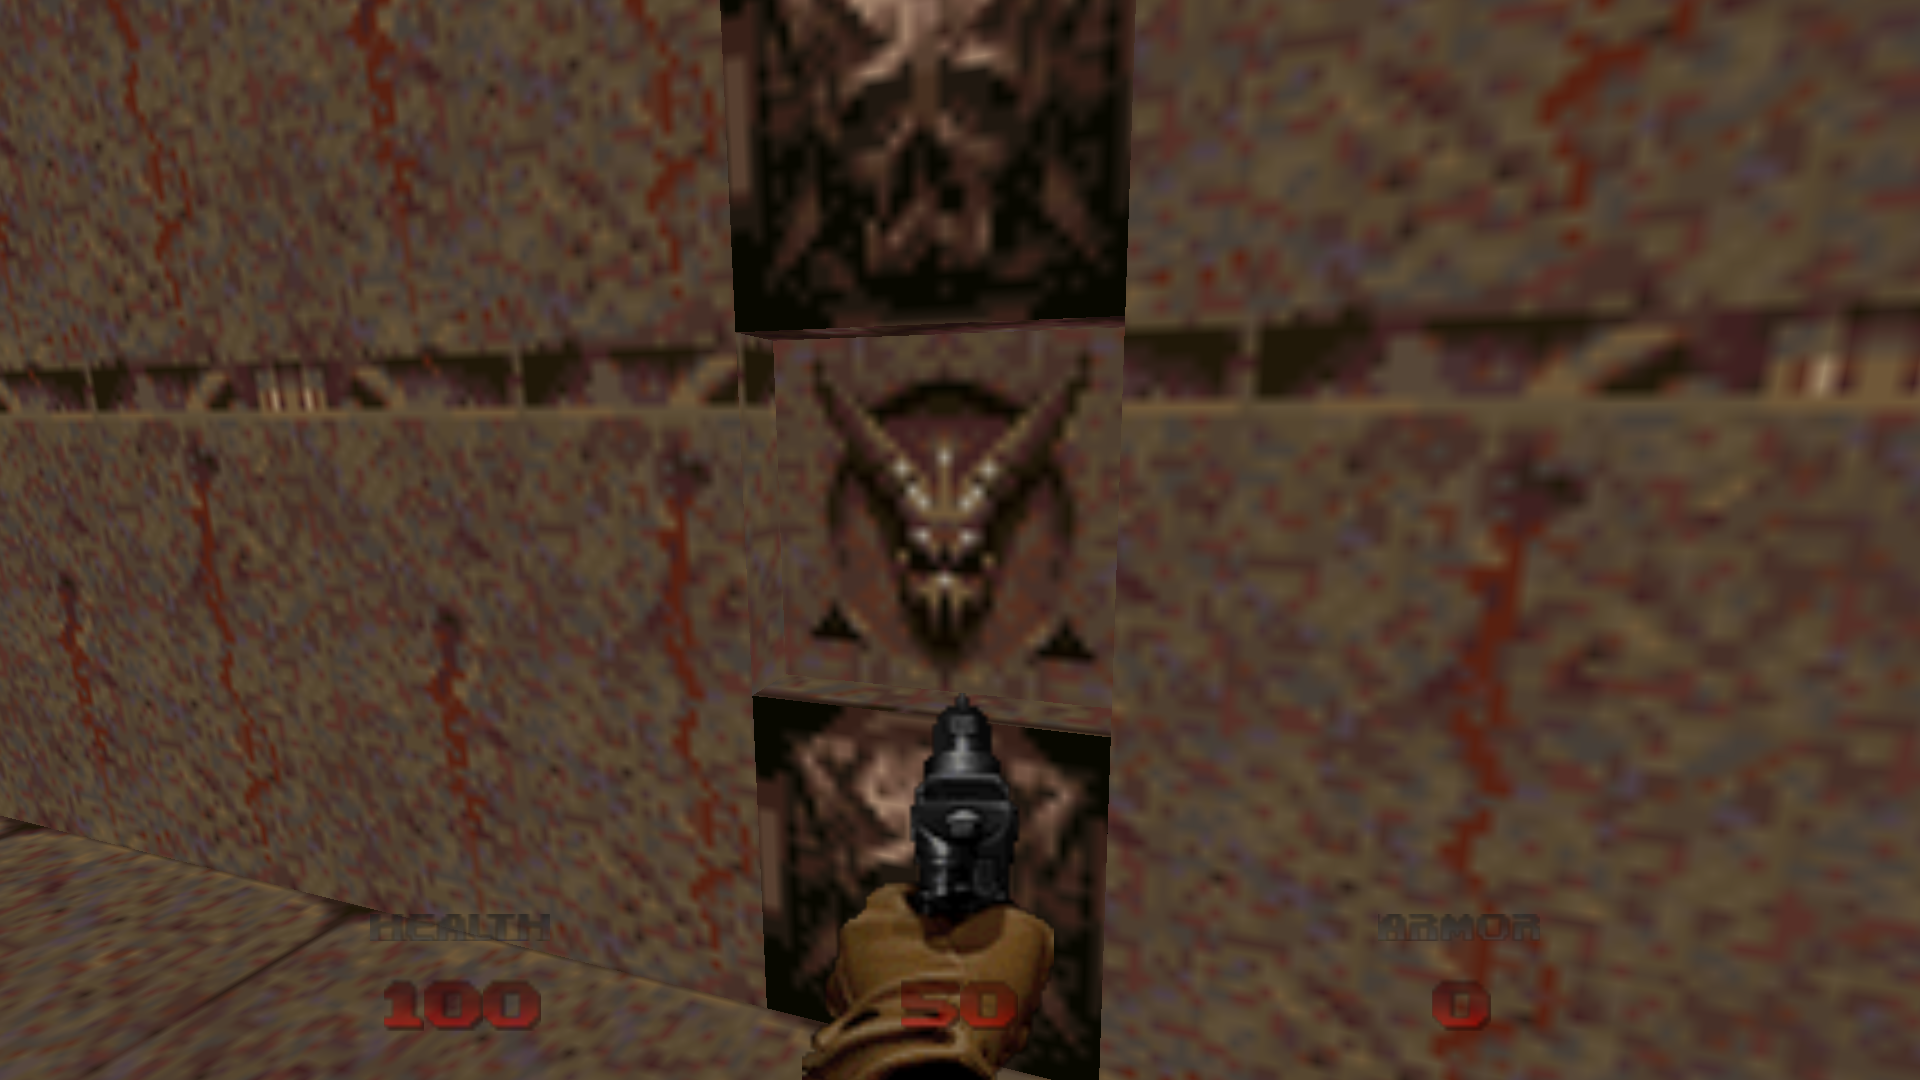
2.) Then go into visual mode and change the textures accordingly. Just like my picture. Be sure to set the switch that’s not lit up on the upper side def and the switch that is lit up on middle side def.
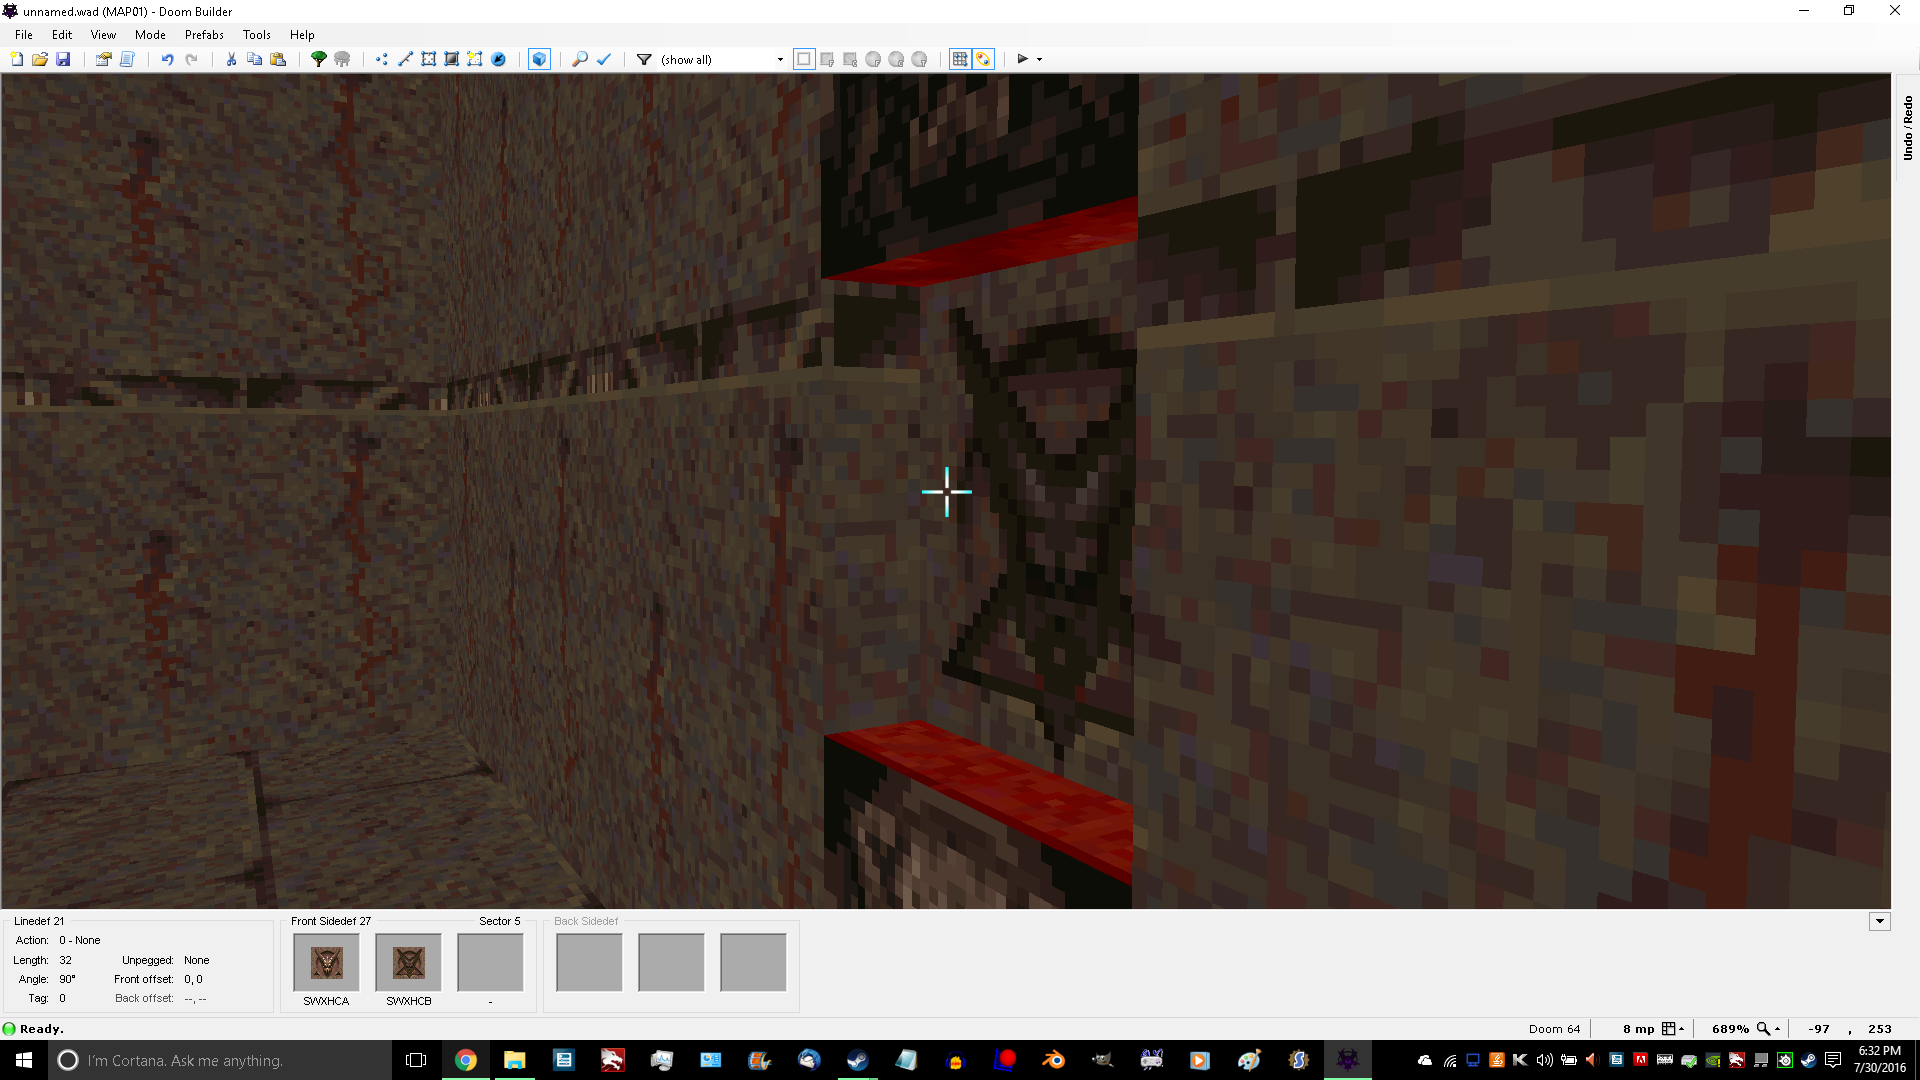
3.) Now that the textures are set, adjust the ceiling and floor height for this sector to match your switch size. Be sure to test the height of the switch so your player is looking at the switch and its the correct height for Doom guy.
4.) Now right click the switch and go to its properties.
Choose your desired action here we will use a door as an example.
Give it a new identification tag.
Activation type choose use and repeatable (if you wish to press it multiple times).
Under Switch setup choose middle for switch display and upper for switch texture. As seen below in the pic.

5.) Now give the door, platform, or whatever your trying to link the switch to the same exact tag number.
6.) Last but certainly not least we need to position the switch. Click on the switch texture in visual mode and press the down arrow key (about 16 times) This will make your switch look like its in the middle and won’t look correct in visual mode. It will only look correct while playing it.
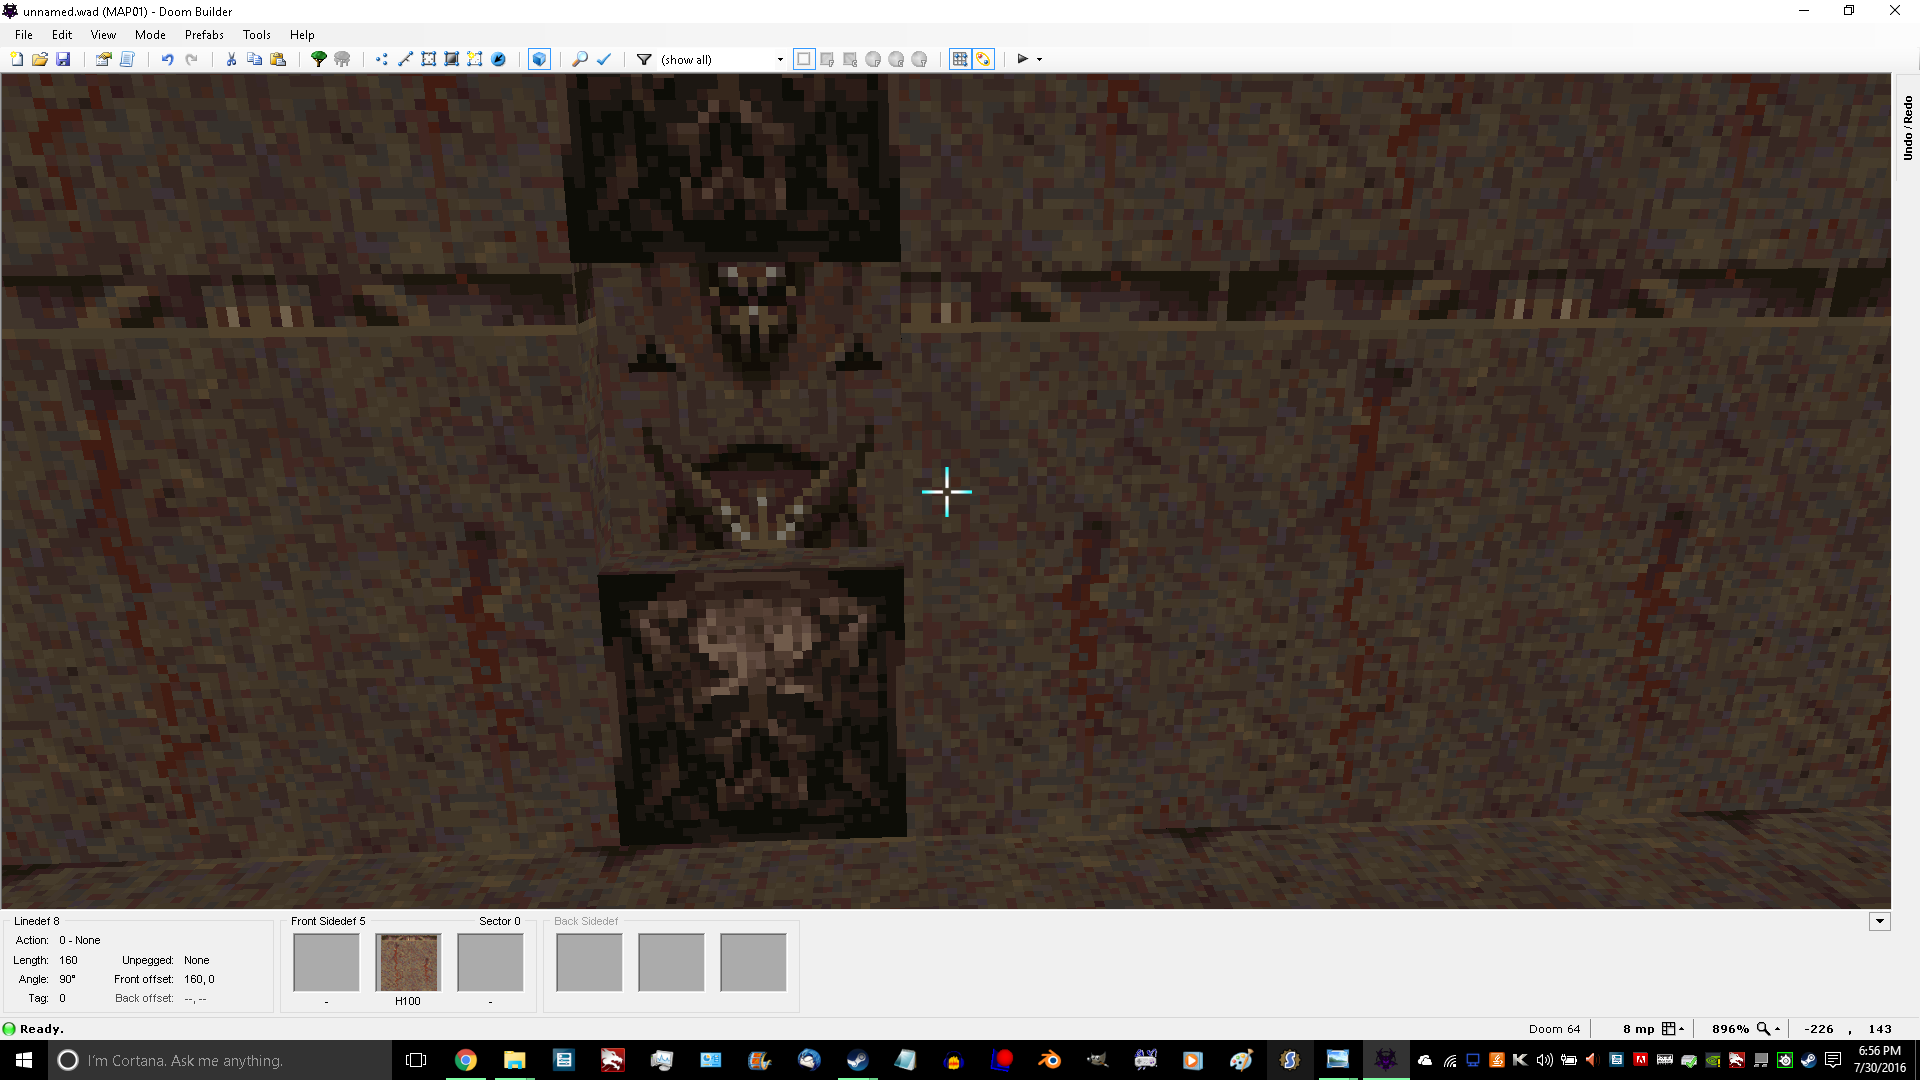
Now when you go to play the level and test it, the switch should align itself.
And it will light up when you press it if its tagged correctly to the corresponding sector.
Categories: Doom

Leave a comment